Timeline to Launch an Online Company Store
Congratulations! You’ve decided to launch new online company store and are quickly on the way to having a streamlined system for swag distribution. But now it is time to do the work. Fortunately, our team at Coggins guides you through the entire onboarding process.
Below is a normal timeline (assuming no rush) to launch a new online company store.
Week 1 – Getting started with Your Online Store Setup
In the first week you will have two meetings. The first meeting is to discuss your desired store configuration and submit the online store setup questionnaire. The questionnaire highlights some standard configuration options related to how you want to structure the functionality of your store and how you might allocate funds to your users. Once the questionnaire is submitted, the e-commerce team will have your store online and functional (without items) in 5 to 10 business days or less.
The second meeting is with your Merchandising Account Manager, to kickstart the item selection process for your store. One of the advantages of having an online company store is that you can approve items and designs at the corporate level that best reflect your brand. In this meeting you will discuss what you are ordering now, any particular items or product categories of interest, the target audience for your merchandise and how the products will be used in the field. Once this meeting concludes our merchandising team will go to work building a presentation of items that we recommend for the initial launch of your online company store.
We will also need your brand guidelines (if you have them) as well as your vector logo files. As part of our standard onboarding process we will have your logo digitized for embroidery so you can approve an embroidery sew out.
Week 2 – Merchandising
During week 2 you will receive a presentation of recommended items that we believe will best reflect your needs and brand. We recommend scheduling a follow-up call for feedback to discuss what you like, any items you do not want to offer as well as any additional items or categories that you would like to see follow-up suggestions.
You can also request any samples you would like to receive to review the quality. Just let your Merchandise Account Manager know which products you would like to see, and we will quickly have samples on your way.
Week 3 – Item Selection
At this point you should be ready to begin approving items to be added to the store. You will confirm any items that should be setup on the store for on-demand production. You can also confirm which items you want to stock in inventory to enable same day shipping with no minimum order quantity. Once you confirm the item, your Account Manager will begin sending you order acknowledgments to begin production.
During week 3 your online store will be updated with your logo, colors, fonts and custom homepage banners. You can review the store to request any edits by our graphics and front-end development team.
Week 4 – Finalizing Items
During week 4 you should be on your way to finalizing the initial on-demand and inventory items to be included on your online store. Once the item selection is finished, our e-commerce team will begin working on item setup by loading item names, pricing, descriptions, size charts, tax codes and loading custom photography displaying your logo on each product.
Week 5 – Setup & Testing
During week 5 you can begin testing your site configuration and customizations. This might include single sign-on, access for different user groups, testing the order approval process and testing the different payment methods you plan to use.
Our e-commerce team will continue loading your items to the store.
Week 6 – Setup & Receive Inventory
By week 6 the inventory orders you placed in weeks 4 and 5 will begin to arrive at the fulfillment center. Our receiving team will perform a Q/A check and process the items into inventory making them available for efficient picking.
Our e-commerce team will continue loading your items that still need to be added to your store.
Week 7 – Finalize Plans for Launch
Items will continue to arrive into inventory at the fulfillment center. At this point all items should be set up and visible on the store. You can begin reviewing the category setup, product setup and continue testing the store as needed.
In week 7 we can work with you to finalize plans for launch. You can send an email blast to all users informing them of the new store as well as any funds you may have chosen to distribute to users.
Week 8 – Time to Launch.
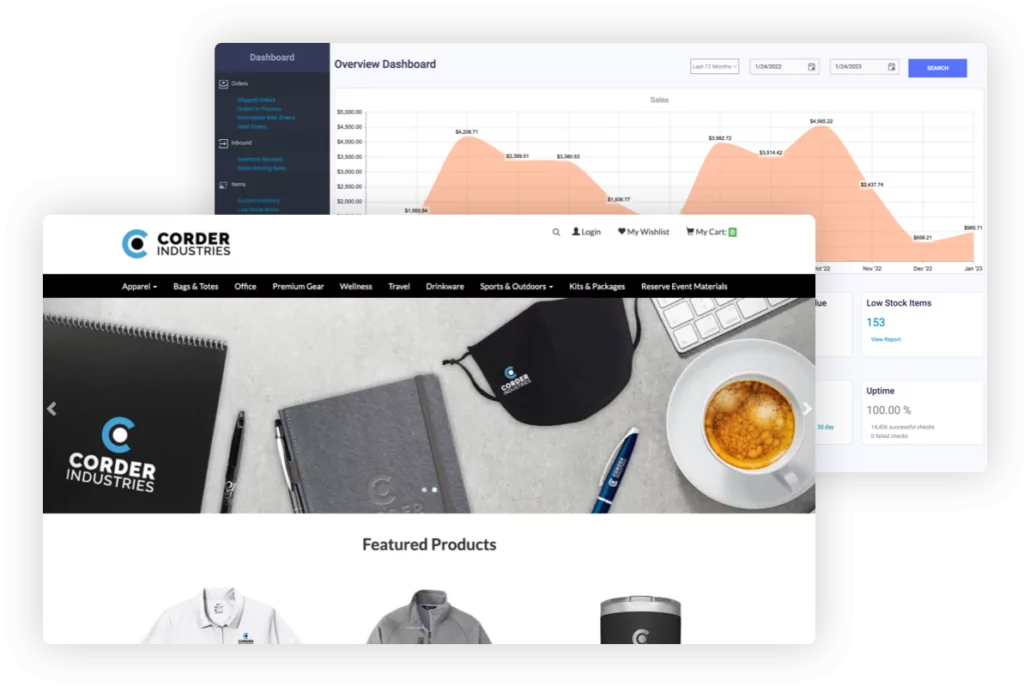
Time to Launch! We typically recommend launching on a Tuesday or Wednesday. During the launch, our customer services teams are on standby to quickly answer questions and help your end users if needed. You will also be able to monitor traffic and ordering from your back-end reporting dashboard.


